Detail note · 18 November 2026
Drilling tempered glass: hole placement, edge distance and the tools that do it safely
Tempered glass cannot be drilled after tempering. Every hole is decided at the drawing, and the failures that follow are almost always placement failures rather than drilling failures.
Why the hole must exist before tempering
Tempering puts the surface of the glass into compression and the core into tension. A hole drilled afterwards cuts through the compressed layer and releases the stress locally, and the panel shatters - not always immediately, sometimes an hour later, sometimes when it is being carried.
This is not a quality issue that a careful driller can avoid. It is a property of tempered glass, and the only safe sequence is: design the holes, cut and drill the annealed glass, then temper.
The practical consequence for a project is that the hardware schedule must be complete before the glass order. A handle changed after tempering is a new panel, and a patch fitting moved 20 mm is a new panel.
Edge distance and hole spacing rules
The minimum distance from a hole to the glass edge is typically one and a half to two times the glass thickness, and manufacturers often specify more for load-bearing holes. A 10 mm hole in 10 mm glass needs at least 15 mm to the edge, and 20 mm is safer.
The distance between two holes matters as much as the distance to the edge. Two holes close together concentrate stress between them, and a clamp that loads both holes in opposite directions creates a tension zone exactly where the glass is weakest.
The corner radius of any notch is a stress riser. A square notch is a crack waiting; a radiused notch spreads the load. Where a fitting needs a notch rather than a hole, the drawing should specify the radius.
The tools and the process
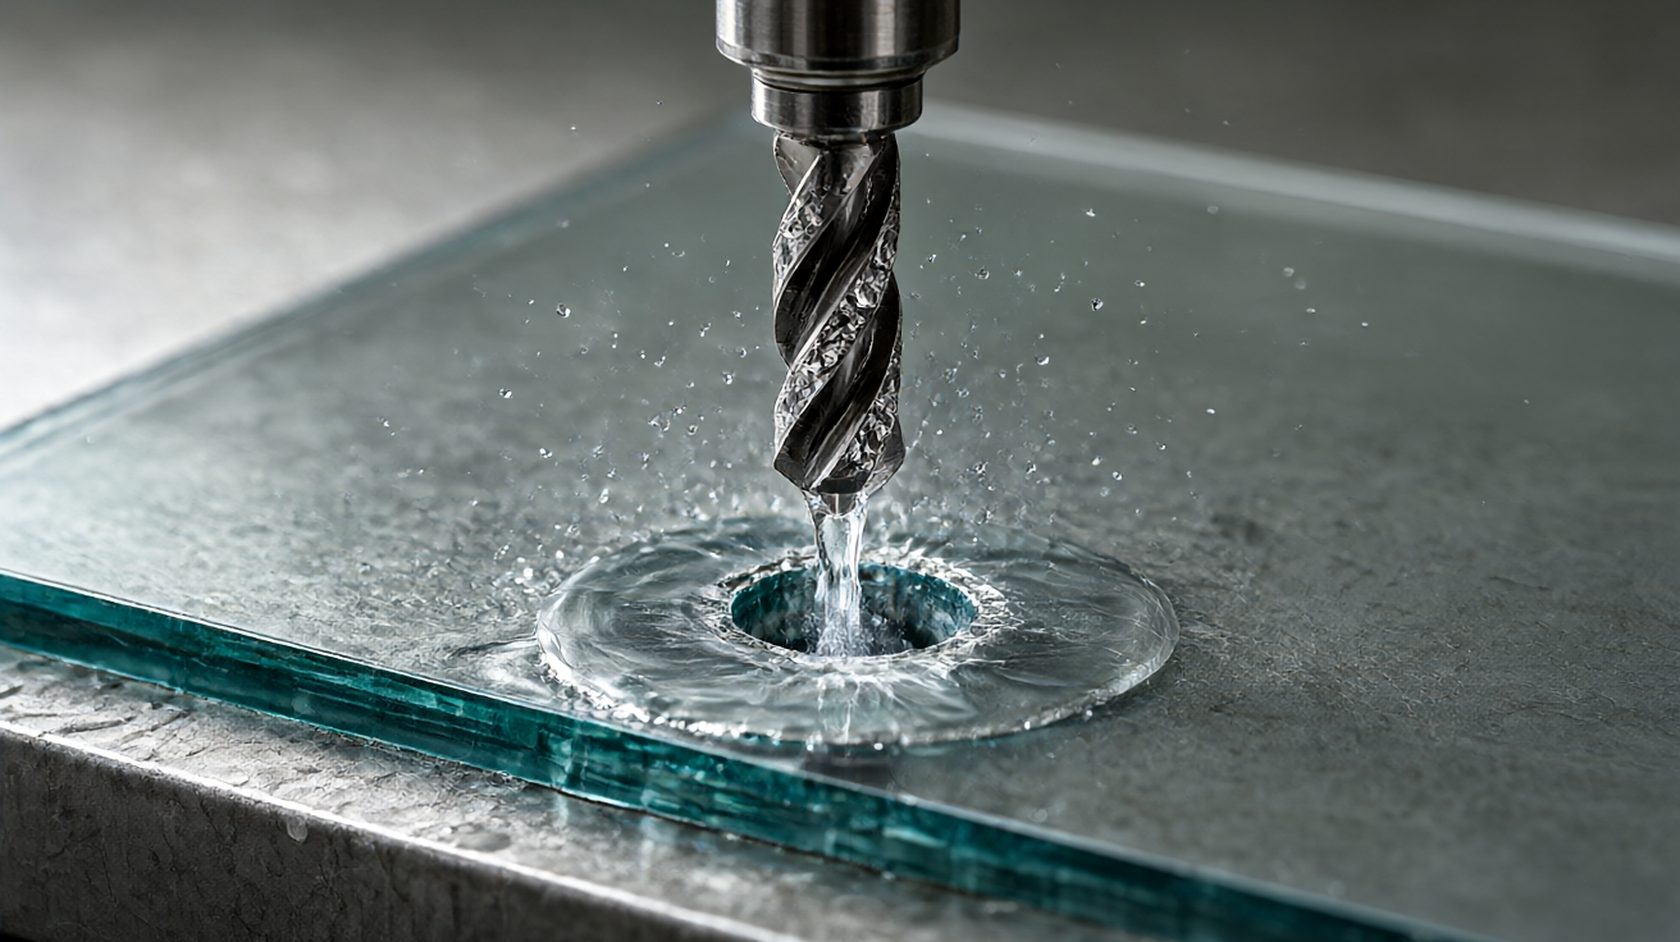
Drilling is done with a diamond core bit or a sintered diamond drill, with water or coolant, at low speed and light pressure. A masonry bit will crack the glass; a dry bit will overheat it; too much pressure will chip the exit side.
The panel is drilled from one side with a backing block to support the exit, and the hole is then chamfered or polished at both faces. A sharp edge at the hole is a stress riser even before the panel is tempered.
The panel should be supported flat and free of vibration. Drilling a panel that is standing on edge and unsupported is how a hole becomes a crack, and the crack may only appear at tempering.
Handling the panel after drilling
A drilled panel is more fragile than a plain one until it is tempered, because the holes are stress concentrations. It should be handled with suction lifters positioned away from the holes, not with hands through the openings.
The lifter cups must sit on flat, clean glass away from the hole and away from the edge. A cup straddling a hole holds nothing; a cup too close to the edge can crack the panel under its own load.
The panel should not be carried by the holes, and it should not be laid on a surface that puts a point load under a hole. A spacer or a foam bed under the panel is the cheap way to avoid a crack that appears at tempering.
Verifying the drawing before the order
The check before the glass order is a full-size template of the hardware on the opening, or a dimensioned drawing with every hole, its diameter, its centres and its edge distances. Every fitting has to be on that drawing, including the ones that are ordered later.
The verification is a physical one where possible: lay the hardware on a plywood template at full size and check the hole positions against the fittings. A 5 mm error is invisible on a drawing and obvious on a template.
Where the hardware is not yet selected, the specification should at least fix the hole pattern for the most likely fittings, and the glass order should be held until it is confirmed. Hurrying the glass order is the most expensive way to save a week.
What to do when a hole is wrong
There is no repair. A hole in tempered glass cannot be moved, enlarged or filled safely, and a panel with a misplaced hole is scrap. The options are a new panel, a different fitting that uses the existing holes, or a redesign that moves the hardware.
The decision should be made on cost and time rather than on pride. A new panel is usually the cheapest of the three when the glass is standard; a bespoke panel with a long lead time may make a fitting change the better option.
The lesson is procedural: the hole drawing is part of the hardware specification, and the hardware specification is part of the project's document set. Projects that treat glass as a commodity and hardware as a detail are the ones that pay for new panels.
Water, dust and the hole that looks fine until tempering
The hole is inspected before tempering, and it should look clean, with no chipping at the entry or the exit and no discolouration from heat. A hole with a chip at the exit is a hole that will fail at tempering or soon after.
Coolant is not optional. Diamond drilling generates heat at the contact point, and heat plus inadequate coolant produces micro-cracks around the hole that are invisible until the panel is tempered and loaded.
The drill should be withdrawn periodically to clear the core and let coolant reach the cut. A continuous push with no clearing is how a bit overheats and a hole becomes a crack.
The fabrication drawing that avoids the argument
The drawing should show every hole with its diameter, its position from two datums, and the edge distance. It should also show the fittings by part number, so the glass supplier can check the hole against the hardware rather than against a sketch.
The approval cycle is the place to catch a mistake: the glass supplier checks the drawing against their capability, the hardware supplier checks it against the fitting, and the project checks it against the opening. Three checks, one revision, no scrap.
Where the opening is not yet measured, the drawing should be marked preliminary and the glass order held. Ordering glass against a preliminary drawing is how a project buys a second set of panels.
The edge, not the hole, is usually the failure
Most glass failures in service start at an edge, not at a hole. A chipped edge, a panel sitting on a hard point, or a corner that has been knocked during handling will propagate a crack that runs across the panel.
The hole matters because it is a designed stress concentration; the edge matters because it is an uncontrolled one. Protecting edges during handling and storage is cheaper than any hole specification.
The practical protections are a foam bed, corner protectors, and a rule that panels are never set down on a hard surface. On site, that rule is worth more than any drawing.
The checklist that goes on the glass order
Every glass order should carry a note: holes per the attached fabrication drawing, edges polished, corners radiused as drawn, panels to be handled flat, no drilling after tempering.
The note is for the supplier and for the site, and it is the document that gets read when something goes wrong. A verbal order with a sketch attached is not a fabrication drawing.
The final check before tempering is a physical one: measure the hole positions on the first panel and compare with the hardware. If the first panel is right, the batch usually follows; if it is wrong, the batch is saved.
The spare panel calculation
On a project with more than a handful of drilled panels, order one spare at the same time. A single replacement ordered later carries a lead time, a freight cost and a colour-batch risk that the spare avoids.
The spare is also the answer to a site accident: a panel broken during installation is replaced from stock on the same day, and the programme survives.
Where the panel has to be carried after drilling, three cups spread the load away from the holes, and the triple cup glass suction lifter is the tool for that stage.
What to check
- Complete the hardware schedule before tempering; holes cannot be added later.
- Minimum 1.5-2x glass thickness from hole to edge; check hole-to-hole spacing.
- Diamond core bit with coolant, low speed, backing block at the exit.
- Handle drilled panels with cups away from holes and edges.
- Verify with a full-size plywood template before releasing the glass order.